As you probably know, these last few weeks we have been working on multi-version support in the Scala IDE. We had previous blog posts describing things here and there, but only the latest nightly, Scala-IDE 4.0.0-M3, presents the full set of features. This is the latest update on what you are getting with multi-version suppport in there.
The Scala IDE has a strong dependency on Scala : it comes deeply embedded with an interactive version of the compiler, called the Presentation Compiler, that it uses to do all the interactive work on your code: completions, errors as you type, semantic highlighting, etc.¹
So far the Scala IDE was therefore built on and for a specific version of the Scala Compiler. For editing 2.10 projects, you had to have a version of the IDE compiled for Scala 2.10. For 2.11, you had to have a version compiled for Scala 2.11. This led to users working with both 2.11 and 2.10 projects having two installations of Eclipse, with different flavors of the Scala IDE plugin installed.
This also constrained us developers: since most of the IDE’s source code had to pass compilation with both 2.10 and 2.11, it was impossible to remove some obsolete things, led to some regression headaches, and made use maintain two parallel branches for the source.
With this multi-version support feature, we want to use a single version of the IDE, built on the latest version of Scala, to handle both “modern” projects built using 2.11, as well as “legacy” projects built with 2.10.
It will also let us retire the 2.10 branch of the IDE builds, focusing the efforts of our small team on one branch, and letting us deliver features to our users faster.
The gist of it is the following: the milestone’s IDE is a 2.11
build. The Presentation Compiler it IDE ships with is a part of
Scala 2.11. But its typechecker can run with a specific option,
-Xsource:2.10 that lets it work on 2.10 source files. That’s now
a regular scala compiler option, by the way — though please note
it only affects up to the typechecker phase.²
So, if you are working on a 2.11 project, nothing changed — this is business as usual. If you are working on a 2.10 code base, a few tweaks and settings may be needed, though the IDE will try to help you.
All you may need to do, then, is to tell the IDE how to deal with your Scala 2.10 project. For that you need a few things:
All of this is brought to you by a single toggle, that we will deal with first, so that those of you in a hurry can start hacking.
To configure a new, fresh project for 2.10 compatibility, you have to go to project-specific settings: the platform’s default is still to consider that projects are based on Scala 2.11³
Here’s what you’ll see:
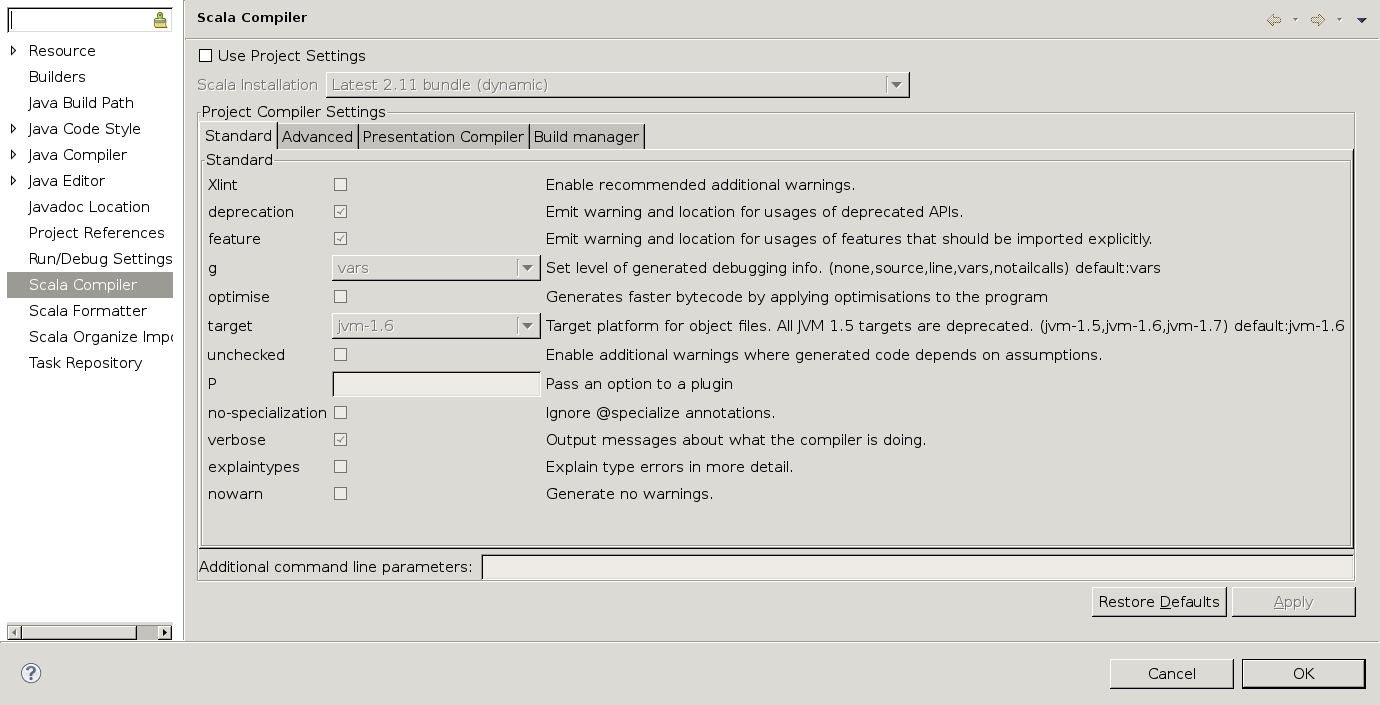
You can now toggle project-specific settings and look at the drop-down just below it. It displays a list of versioned Scala installations that should include (at least) both a 2.10 version and a 2.11 version. Some are labeled as dynamic, others as fixed.
Here’s an example:
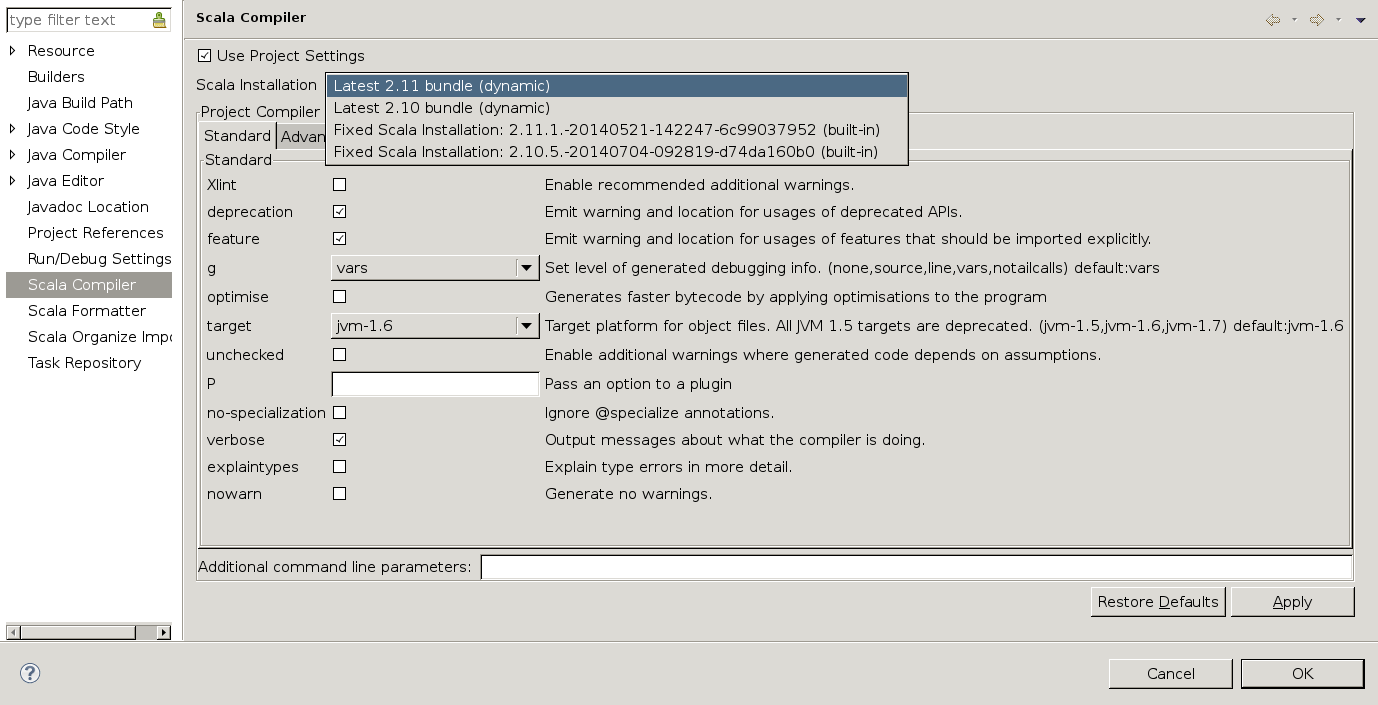
The meaning of a fixed version is just that: if you select any fixed version, your project will be type-checked with that particular version of Scala, for as long as the IDE can find it.⁴
The meaning of a dynamic option is that it will get updated in a binary compatible way as we ship updates of the IDE through Eclipse update sites. You have the insurance that if you choose a dynamic 2.11 version, what will be used is the latest available 2.11 installation the IDE ships with.⁵
That’s it ! You project will be built with the version of Scala you just chose, and the presentation compiler of the IDE will process your code in the compatibility mode corresponding to that version (if appropriate).
Now once you just select one of these options (hopefully a 2.10
installation, since this is what we’re here to do), you will not
see any changes to other compilation options. You’ll have to
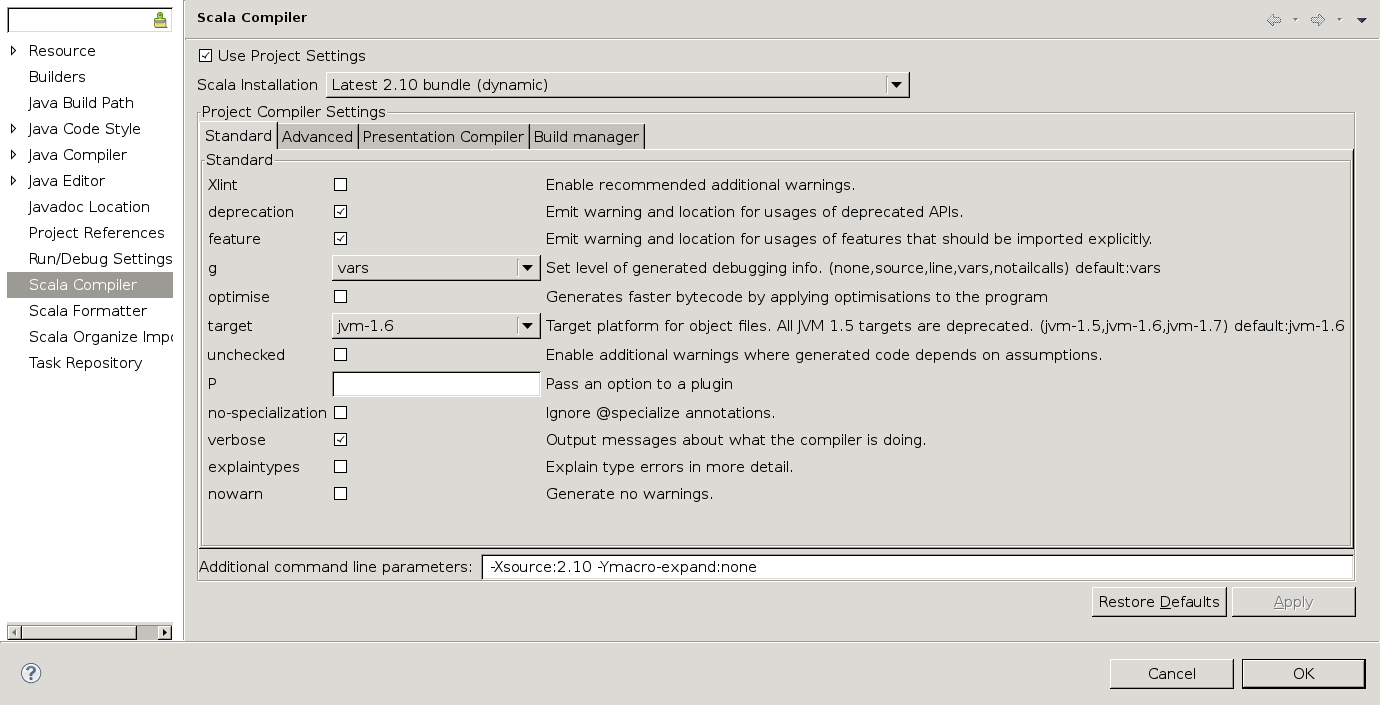
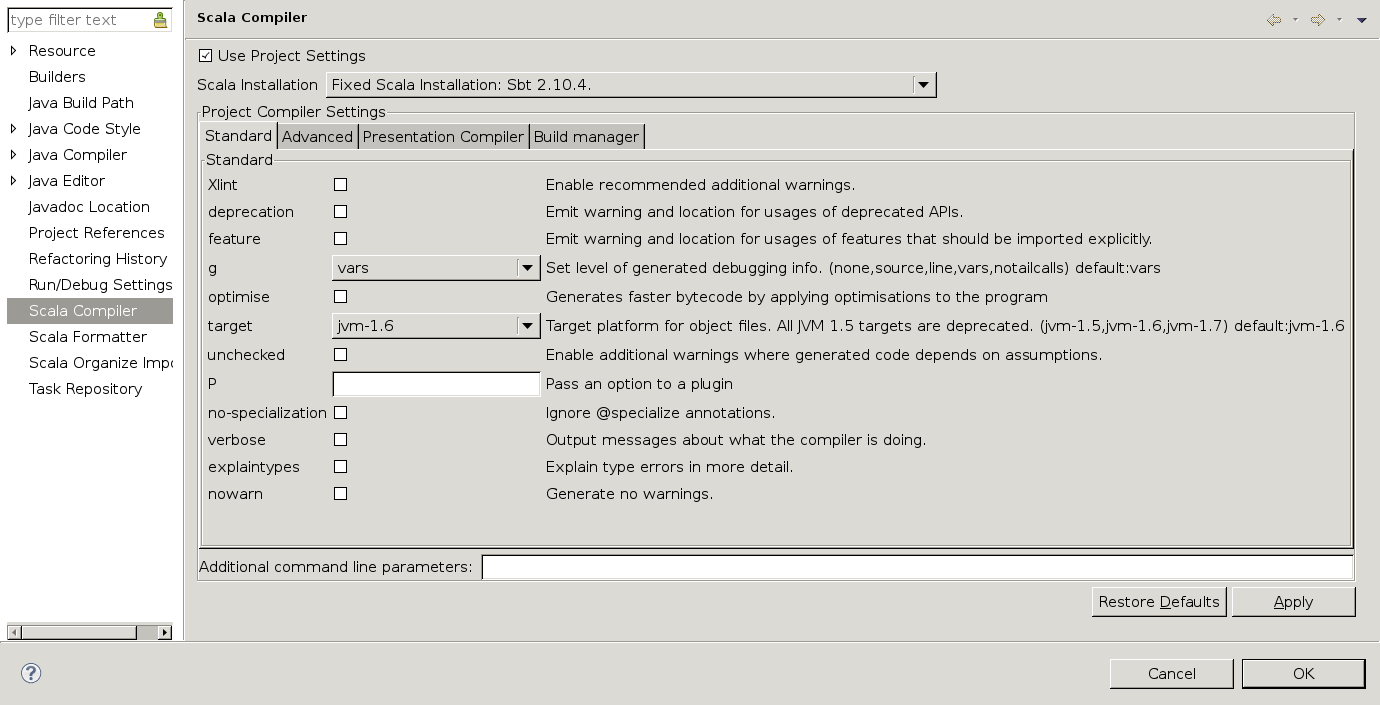
press OK for that. But if you subsequently reopen
compiler settings for that project, you’ll see that the
-Xsource:2.10 -Ymacro-expand:none string has been added to your
compiler settings:⁶
Note that if you decide to revert that change and come back to a 2.11 configuration, the IDE will look closely at your project’s compiler settings as compared to workspace-wide settings. If just removing scala-version-related makes your project configuration equivalent to workspace settings, it will automatically revert the project-specific toggle. your project will again be ruled by current workspace-wide settings.
Also, note this setting will not affect what your projct is built with. What your project runs on is, as usual, the compiler it finds on classpath. But what is actually found on classpath may vary according to your project’s specific settings.
The IDE will try to understand what version of Scala your project is designed to work with. It does this by looking at your resolved classpath. A resolved classpath means “expanded until it explicitly contains just paths to existing files”. ⁷ Files in that classpath will possibly contain a scala-library jar, in which we know where to look for a version, or other, external jar files which filename might hint at a Scala version.
If we detect a 2.10 scala library, you’ll see the following error marker appear in the Problems view:

If you try to quick-fix this error (by pressing Ctrl+1 or right-clicking and selecting Quickfix), you’ll see the following dialog:
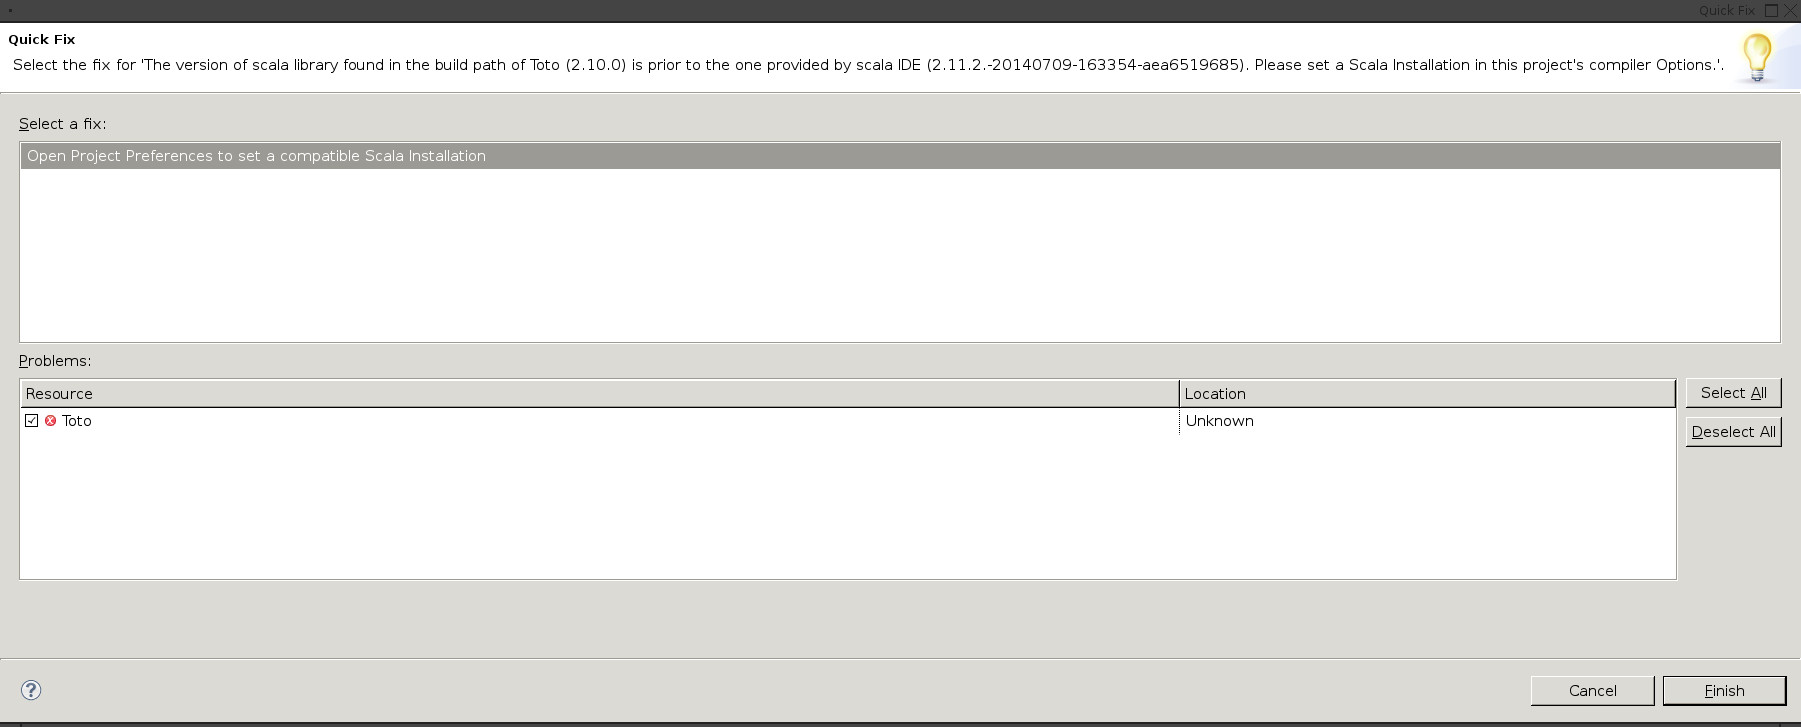
Opening Project Properties here (by clicking Finish) is equivalent to doing it through menus, It will toggle project-specific compiler settings if necessary, and set the correct compiler flags.
A similar error marker will pop up if you have external 2.10 libraries in your classpath (e.g. if they were brought there by sbteclipse with cutom options).
Now, if you have a project that was created in Eclipse, or if you are working on a project which Eclipse configuration has been generated in the past with a vanilla sbteclipse (with no particular options), you may notice that those error markers do not appear. This is because your project is using a Classpath Container.
Basically, classpath containers are an indirection in your classpath that is elaborated by the platform Eclipse using settings.They’re the technical notion behind the Eclipse feature named user libraries.
Your project’s physical representation contains a string (a classpath container path) in its classpath, that Eclipse resolves depending on its own settings and context.⁸ This has been the way Scala projects in the IDE have been dealt with so far: your projects contained that indirection as a pointer to a Scala compiler, so that as you updated your ScalaIDE plugin over time, your projects were always built with the latest version of the scala compiler embedded with the IDE.
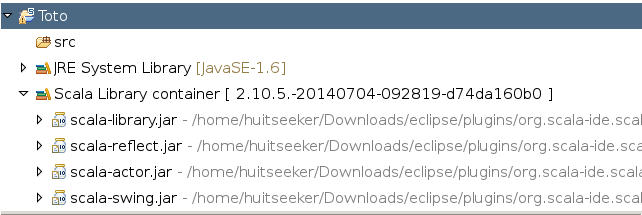
As of now you have access to the content of the Scala Classpath Containers. First of all, choosing a project-specific scala installation in compiler settings, as discussed above, also sets the classpath container. You can witness that by expanding your project in the Package Explorer. Here’s how it look for our test project, set to use the latest 2.10 Scala above:
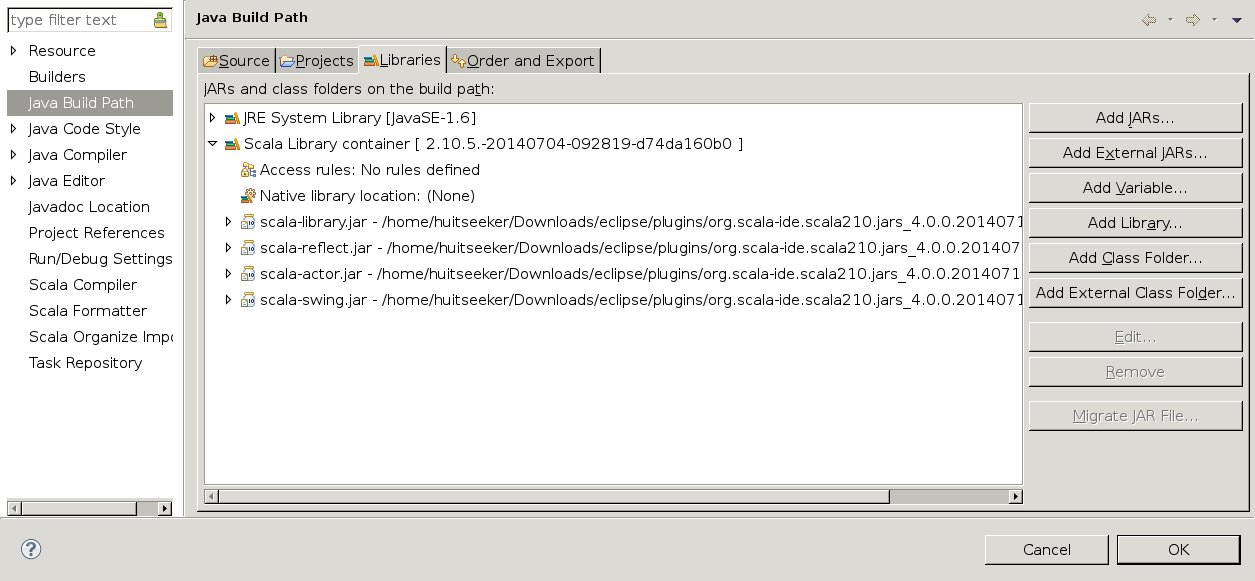
You’ll notice this is not the generic 2.11 container you would get with a fresh new (and therefore 2.11) project. You can also see that in the Java Build Path preference page in the project settings:
You can also edit this classpath container, by right-clicking in the Package Explorer view, or by clicking Edit on the Java Build Path Preference page.
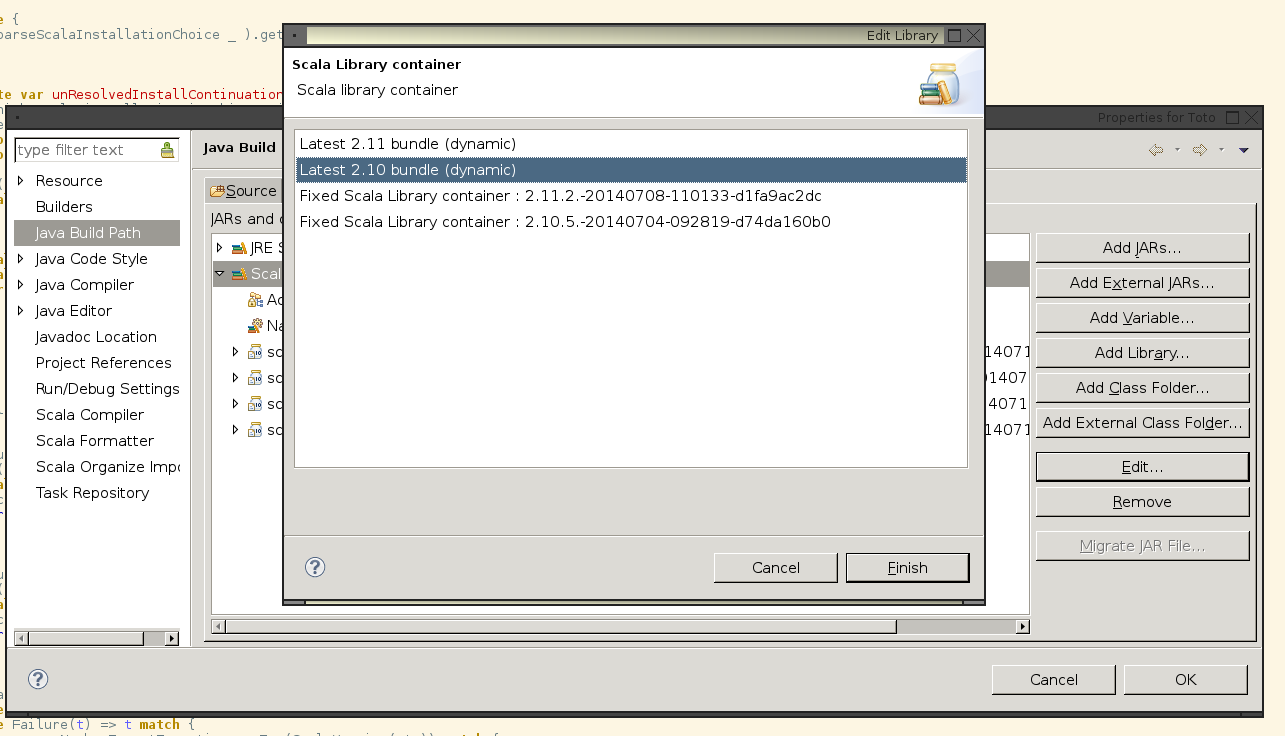
Choosing a particular installation here will have the same effect as choosing a particular Scala Installation in the project’s compiler settings, as outlined above. In fact, if you reopen your project’s settings after applying that classpath container change, you’ll notice that the settings for your installation and use of project-specific settings have changed appropriately.
Note that if you decide to write a plugin, or do something that depends on the scala compiler as opposed to just the scala library, you may want to add another specific container to your classpath: the Scala compiler. This is possible thanks to the (usual) Add Library menu of the Java Build Path page. Here, the Scala Compiler choice will take you to a window very similar to the above.
Beware this choice will also have an impact on your choice of Scala installation and associated compiler settings. In fact, to make sure that the compiler and library container settings would not get out of sync, we had to make sure that classpath container edition should not fire if you have both Scala-library and Scala-compiler on classpath. In you do the best way to proceed is from a project’s choice of Scala Installation, which cascades to classpath containers — and a quickfix will guide you there if you try to modify such a classpath container directly anyway.⁹
This will let you have a project whose classpath is managed the way your choice of Scala Installation is : a fixed set of jars if this is what you choose, or the latest flavor of your favorite compiler (whether 2.10 or 2.11), in case you select a dynamic installation.
But so far, we have only seen how to manage the pre-installed, embedded versions of the scala library and compiler. How about dealing with custom, personal installations of Scala that you may want to use in conjunction with your project ?
If you want to use a custom version of Scala with your project,
there has always been the option of having a manually-managed
classpath. You can either use the Add External Jars function
for the Java Build Path preference page to set up your
scala-compiler and/or scala-library (etc) jars, or you could use
sbteclipse with the withBundledScalaContainers:=false
option, which copies exactly the settings resolved by sbt.
But using this is tedious, and it’s per-project. How about setting a custom, workspace-wide installation that your projects can then reuse ?
This is what you can do from the Scala Installations preference page. You will find it in the preference page for the workspace.
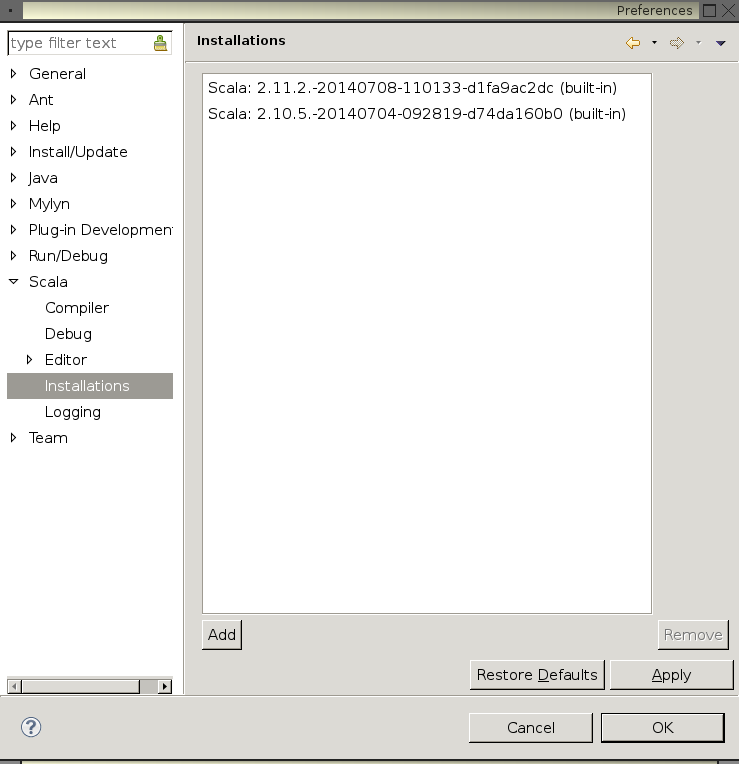
Notice how there is no notion of dynamic or fixed represented here: those notions are relevant for a choice of Scala Installation when you configure a project (dictating how that choice will be realized accross upgrades). Those are just the installations that are available to your IDE at the moment.
There you can add and remove an installation according to your needs. So far, the dialog prompts you for a directory, which should contain all your jar files, at the root of the directory. Those should comprise at least of the scala-compiler and scala-library jar. If there are source jars in that directory, the IDE will also try to incorporate them in the installation. It will also try to find extra dependencies such as scala-reflect.
It will try to do a best effort to understand the version of your installation given what we know of how such jars are produced by the compiler build10 , and try to check those jars version is consistent with each other.
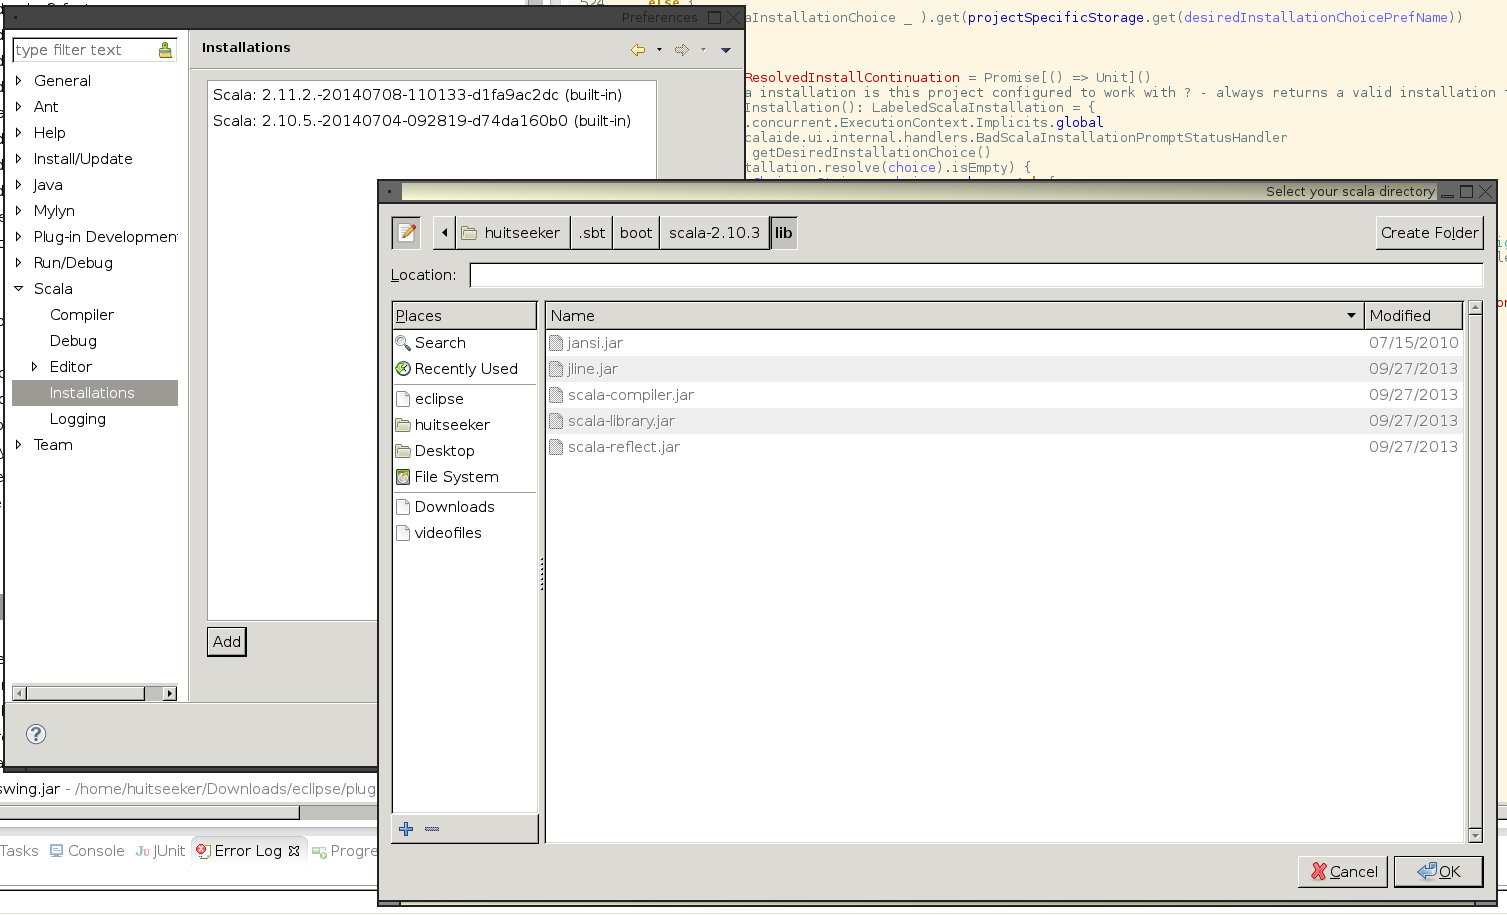
Let’s now try to add an installation from the ~/.sbt/boot
directory, a place where sbt stores the scala jars it requires to
boot.
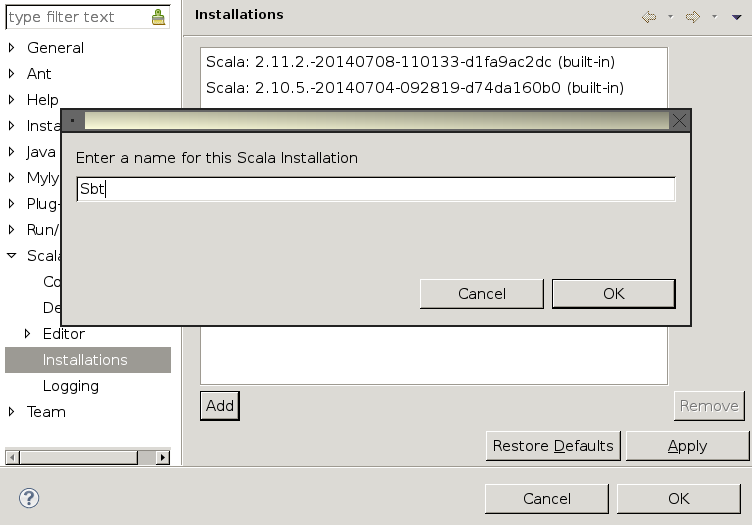
A dialog then comes up asking for a name: this name gives you the option of labeling a custom installation with a tag that is easier to find in all the dialogs above, or even to have several names for a given choice of jars.
You can now see your installation listed in all relevant dialogs mentioned above, and you can select it in Compiler Settings.
Note that any scala installation created in that custom manner is necessarily fixed: dynamic installations vary following upgrades of the Scala IDE packaged compilers, and we would not know what to upgrade such a directory-based scala installation to.
You may also find it constraining to have your scala installation set as a bunch of jars at the root of a directory. But it should be possible to convert any setup of a scala installation to a suitable directory by using symbolic links.
Besides, we firmly intend to implement more ways of defining a custom scala installation for use in your IDE. If you have a preferred way (explicitly choosing every jar ? looking at your maven/ivy cache ?), please let us know.
Finally, note that so far, we only support Scala Versions
posterior to 2.10.0. Indeed, the -Xsource flag only knows so
far how to run both in 2.11 (normal) and 2.10 (compatibility)
modes. But it no longer knows about old typing ways of the past.